Windows 系统中有一个没什么文档的 API,SetWindowCompositionAttribute,可以允许应用的开发者将自己窗口中的内容渲染与窗口进行组合。这可以实现很多系统中预设的窗口特效,比如 Windows 7 的毛玻璃特效,Windows 8/10 的前景色特效,Windows 10 的模糊特效,以及 Windows 10 1709 的亚克力(Acrylic)特效。而且这些组合都发生在 dwm 进程中,不会额外占用应用程序的渲染性能。
本文介绍 SetWindowCompositionAttribute 可以实现的所有效果。你可以通过阅读本文了解到与系统窗口可以组合渲染到哪些程度。
试验用的源代码
本文将创建一个简单的 WPF 程序来验证 SetWindowCompositionAttribute 能达到的各种效果。你也可以不使用 WPF,得到类似的效果。
简单的项目文件结构是这样的:
- [项目] Walterlv.WindowComposition
- App.xaml
- App.xaml.cs
- MainWindow.xaml
- MainWindow.xaml.cs
- WindowAccentCompositor
其中,App.xaml 和 App.xaml.cs 保持默认生成的不动。
为了验证此 API 的效果,我需要将 WPF 主窗口的背景色设置为纯透明或者 null,而设置 ControlTemplate 才能彻彻底底确保所有的样式一定是受我们自己控制的,我们在 ControlTemplate 中没有指定任何可以显示的内容。MainWindow.xaml 的全部代码如下:
1
2
3
4
5
6
7
8
9
10
11
12
13
14
15
16
17
18
<Window x:Class="Walterlv.WindowComposition.MainWindow"
        xmlns="http://schemas.microsoft.com/winfx/2006/xaml/presentation"
        xmlns:x="http://schemas.microsoft.com/winfx/2006/xaml"
        Title="欢迎访问吕毅的博客:blog.walterlv.com" Height="450" Width="800">
    <Window.Template>
        <ControlTemplate TargetType="Window">
            <AdornerDecorator>
                <ContentPresenter />
            </AdornerDecorator>
        </ControlTemplate>
    </Window.Template>
    <!-- 我们注释掉 WindowChrome,是因为即将验证 WindowChrome 带来的影响。 -->
    <!--<WindowChrome.WindowChrome>
        <WindowChrome GlassFrameThickness="-1" />
    </WindowChrome.WindowChrome>-->
    <Grid>
    </Grid>
</Window>
而 MainWindow.xaml.cs 中,我们简单调用一下我们即将写的调用 SetWindowCompositionAttribute 的类型。
1
2
3
4
5
6
7
8
9
10
11
12
13
14
15
16
using System.Windows;
using System.Windows.Media;
using Walterlv.Windows.Effects;

namespace Walterlv.WindowComposition
{
    public partial class MainWindow : Window
    {
        public MainWindow()
        {
            InitializeComponent();
            var compositor = new WindowAccentCompositor(this);
            compositor.Composite(Color.FromRgb(0x18, 0xa0, 0x5e));
        }
    }
}
还剩下一个 WindowAccentCompositor.cs 文件,因为比较长放到博客里影响阅读,所以建议前往这里查看:
而其中对我们最终渲染效果有影响的就是 AccentPolicy 类型的几个属性。其中 AccentState 属性是下面这个枚举,而 GradientColor 将决定窗口渲染时叠加的颜色。
1
2
3
4
5
6
7
8
9
private enum AccentState
{
    ACCENT_DISABLED = 0,
    ACCENT_ENABLE_GRADIENT = 1,
    ACCENT_ENABLE_TRANSPARENTGRADIENT = 2,
    ACCENT_ENABLE_BLURBEHIND = 3,
    ACCENT_ENABLE_ACRYLICBLURBEHIND = 4,
    ACCENT_INVALID_STATE = 5,
}
影响因素
经过试验,对最终显示效果有影响的有这些:
- 选择的
AccentState枚举值 - 使用的
GradientColor叠加色 - 是否使用
WindowChrome让客户区覆盖非客户区 - 目标操作系统(Windows 7/8/8.1/10)
使用 WindowChrome,你可以用你自己的 UI 覆盖掉系统的 UI 窗口样式。关于 WindowChrome 让客户区覆盖非客户区的知识,可以阅读:
需要注意的是,WindowChrome 的 GlassFrameThickness 属性可以设置窗口边框的粗细,设置为 0 将导致窗口没有阴影,设置为负数将使得整个窗口都是边框。
排列组合
我们依次来看看效果。
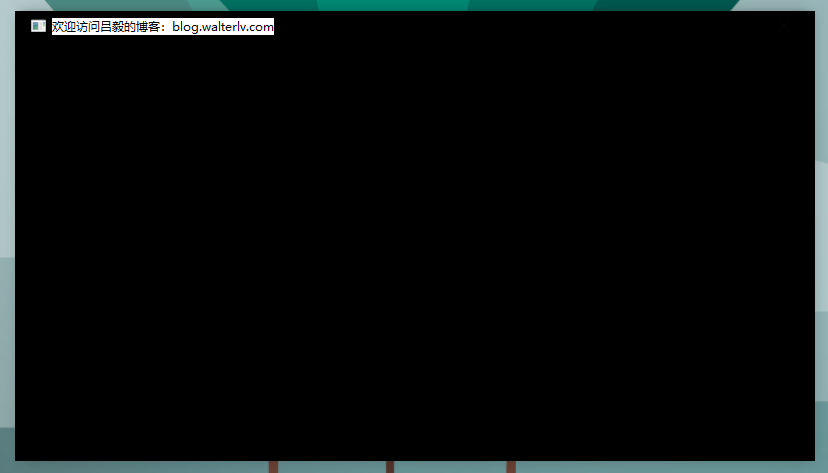
AccentState=ACCENT_DISABLED
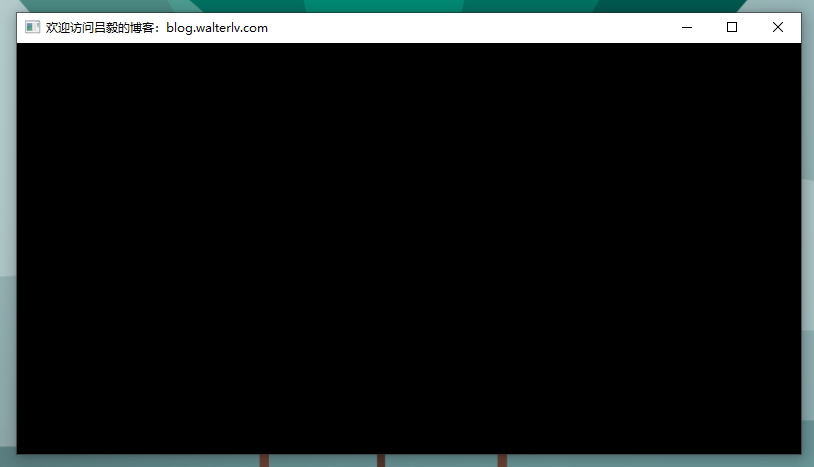
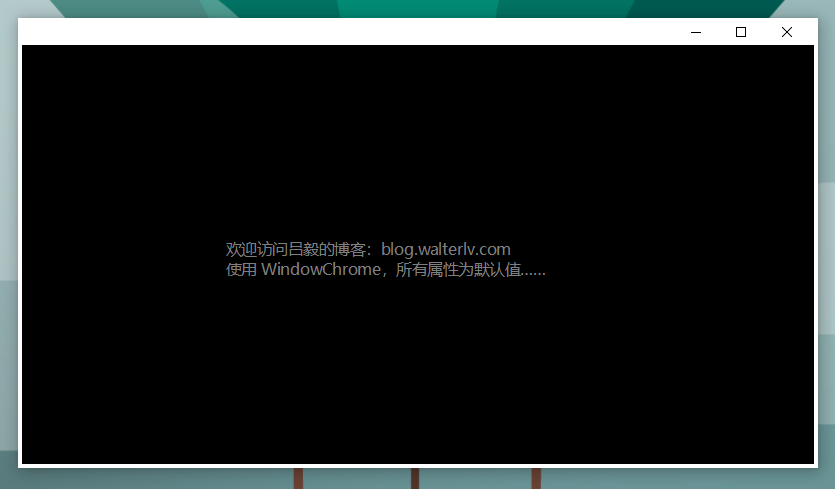
使用 ACCENT_DISABLED 时,GradientColor 叠加色没有任何影响,唯一影响渲染的是 WindowChrome 和操作系统。
不使用 WindowChrome,在 Windows 10 上:
不使用 WindowChrome 在 Windows 7 上:

在 Windows 10 上,使用 WindowChrome:
1
2
3
<WindowChrome.WindowChrome>
    <WindowChrome />
</WindowChrome.WindowChrome>
在 Windows 7 上,使用 WindowChrome:

当然,以上边框比较细,跟系统不搭,可以设置成其他值:
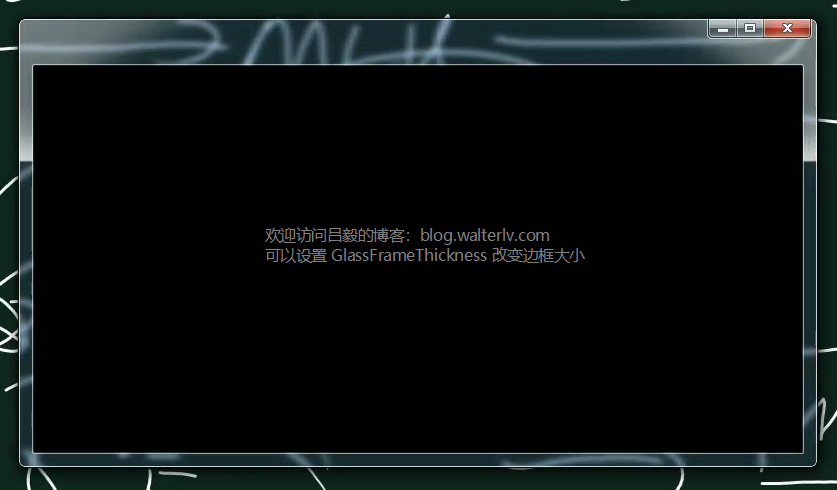
在 Windows 10 上,使用 WindowChrome 并且 GlassFrameThickness 设置为 -1:
1
2
3
<WindowChrome.WindowChrome>
    <WindowChrome GlassFrameThickness="-1" />
</WindowChrome.WindowChrome>

而在 Windows 7 上,这就是非常绚丽的全窗口的 Aero 毛玻璃特效:

AccentState=ACCENT_ENABLE_GRADIENT
使用 ACCENT_DISABLED 时,GradientColor 叠加色会影响到最终的渲染效果。
还记得我们前面叠加的颜色是什么吗?
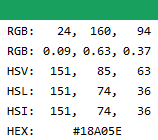
接下来别忘了然后把它误以为是我系统的主题色哦!
不使用 WindowChrome,在 Windows 10 上:

另外,你会注意到左、下、右三个方向上边框会深一些。那是 Windows 10 的窗口阴影效果,因为实际上 Windows 10 叠加的阴影也是窗口区域的一部分,只是一般人看不出来而已。我们叠加了颜色之后,这里就露馅儿了。
另外,这个颜色并不是我们自己的进程绘制的哦,是 dwm 绘制的颜色。
如果不指定 GradientColor 也就是保持为 0,你将看到上面绿色的部分全是黑色的;嗯,包括阴影的部分……
不使用 WindowChrome 在 Windows 7 上:

可以看出,在 Windows 7 上,GradientColor 被无视了。
而使用 WindowChrome 在 Windows 10 上,则可以得到整个窗口的叠加色:
1
2
3
<WindowChrome.WindowChrome>
    <WindowChrome GlassFrameThickness="16 48 16 16" />
</WindowChrome.WindowChrome>
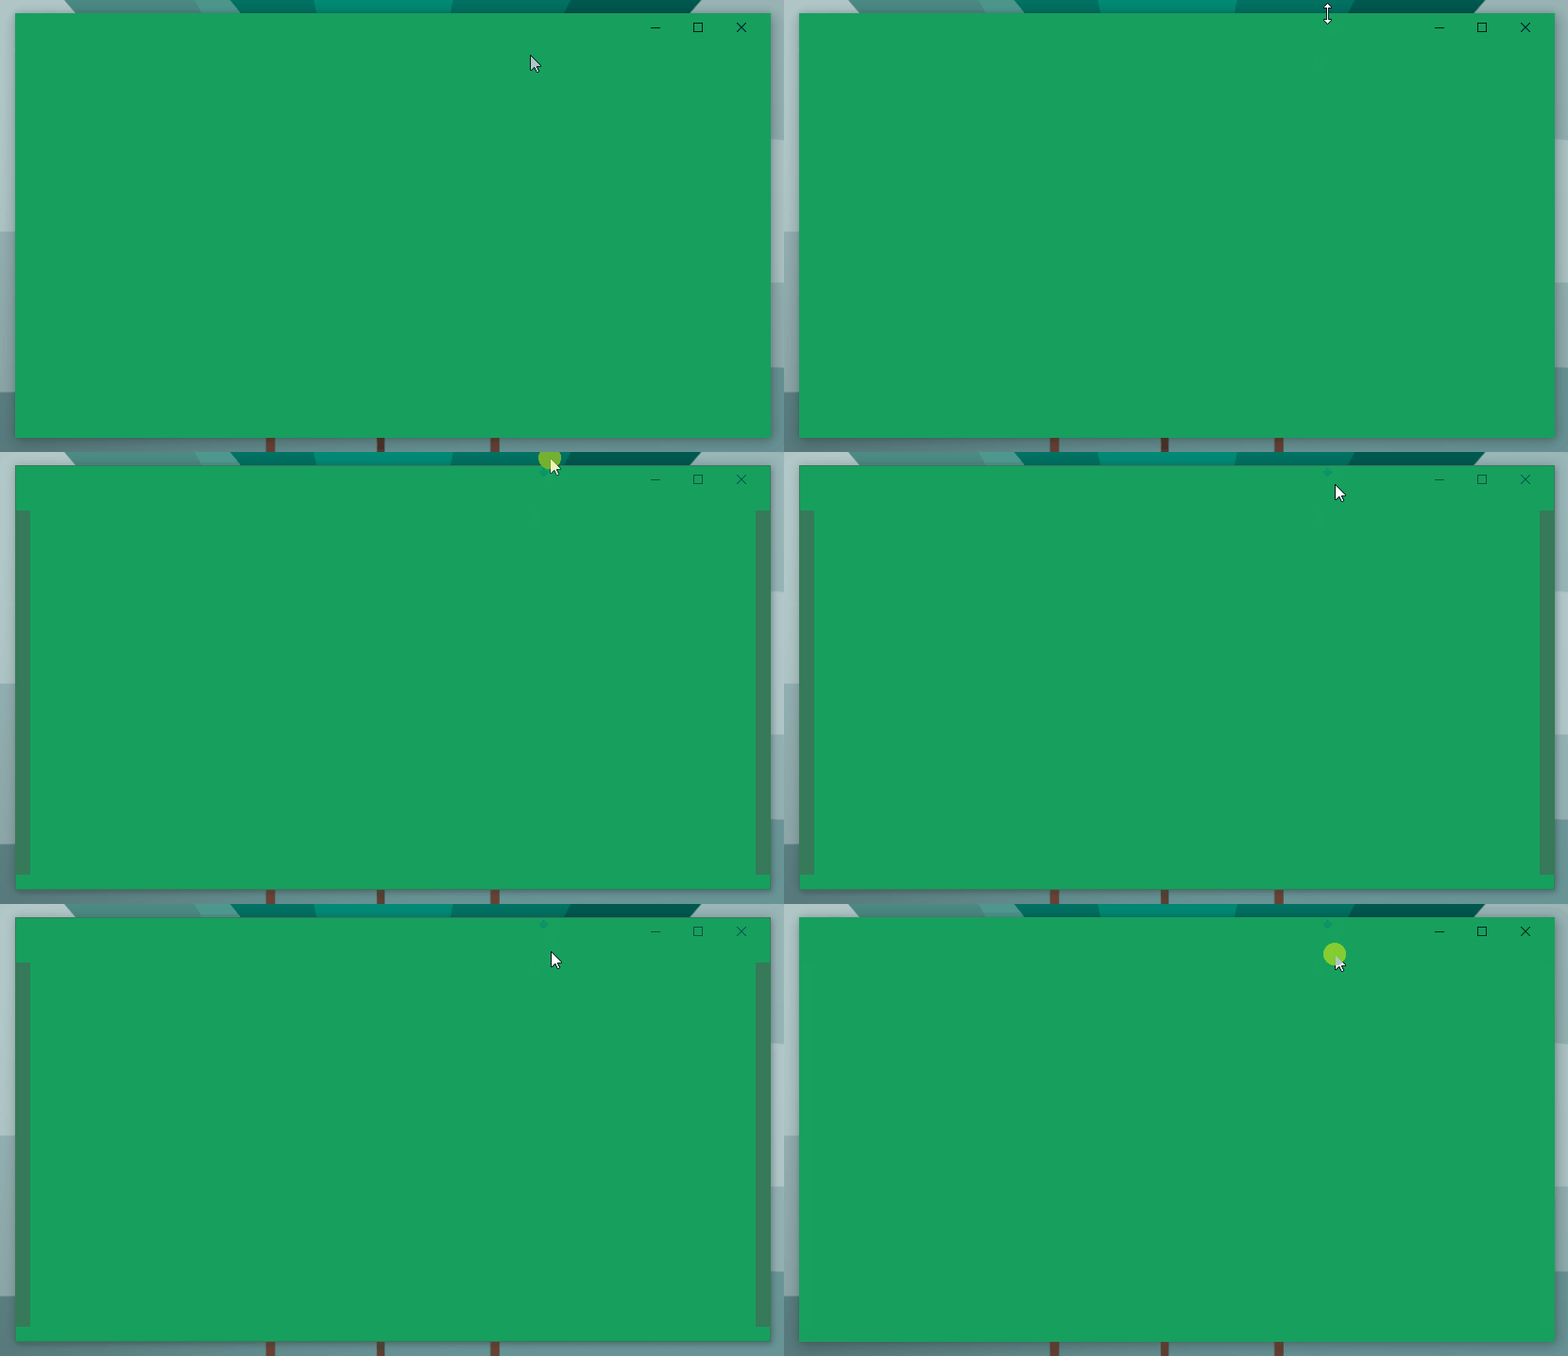
可以注意到,窗口获得焦点的时候,整个窗口都是叠加色;而窗口失去焦点的时候,指定了边框的部分颜色会更深(换其他颜色叠加可以看出来是叠加了半透明黑色)。
如果你希望失去焦点的时候,边框部分不要变深,请将边框设置为 -1:
1
2
3
<WindowChrome.WindowChrome>
    <WindowChrome GlassFrameThickness="-1" />
</WindowChrome.WindowChrome>
使用 WindowChrome 在 Windows 7 上,依然没有任何叠加色的效果:
AccentState=ACCENT_ENABLE_TRANSPARENTGRADIENT
使用 ACCENT_ENABLE_TRANSPARENTGRADIENT 时,GradientColor 叠加色没有任何影响,唯一影响渲染的是 WindowChrome 和操作系统。
不使用 WindowChrome,在 Windows 10 上:
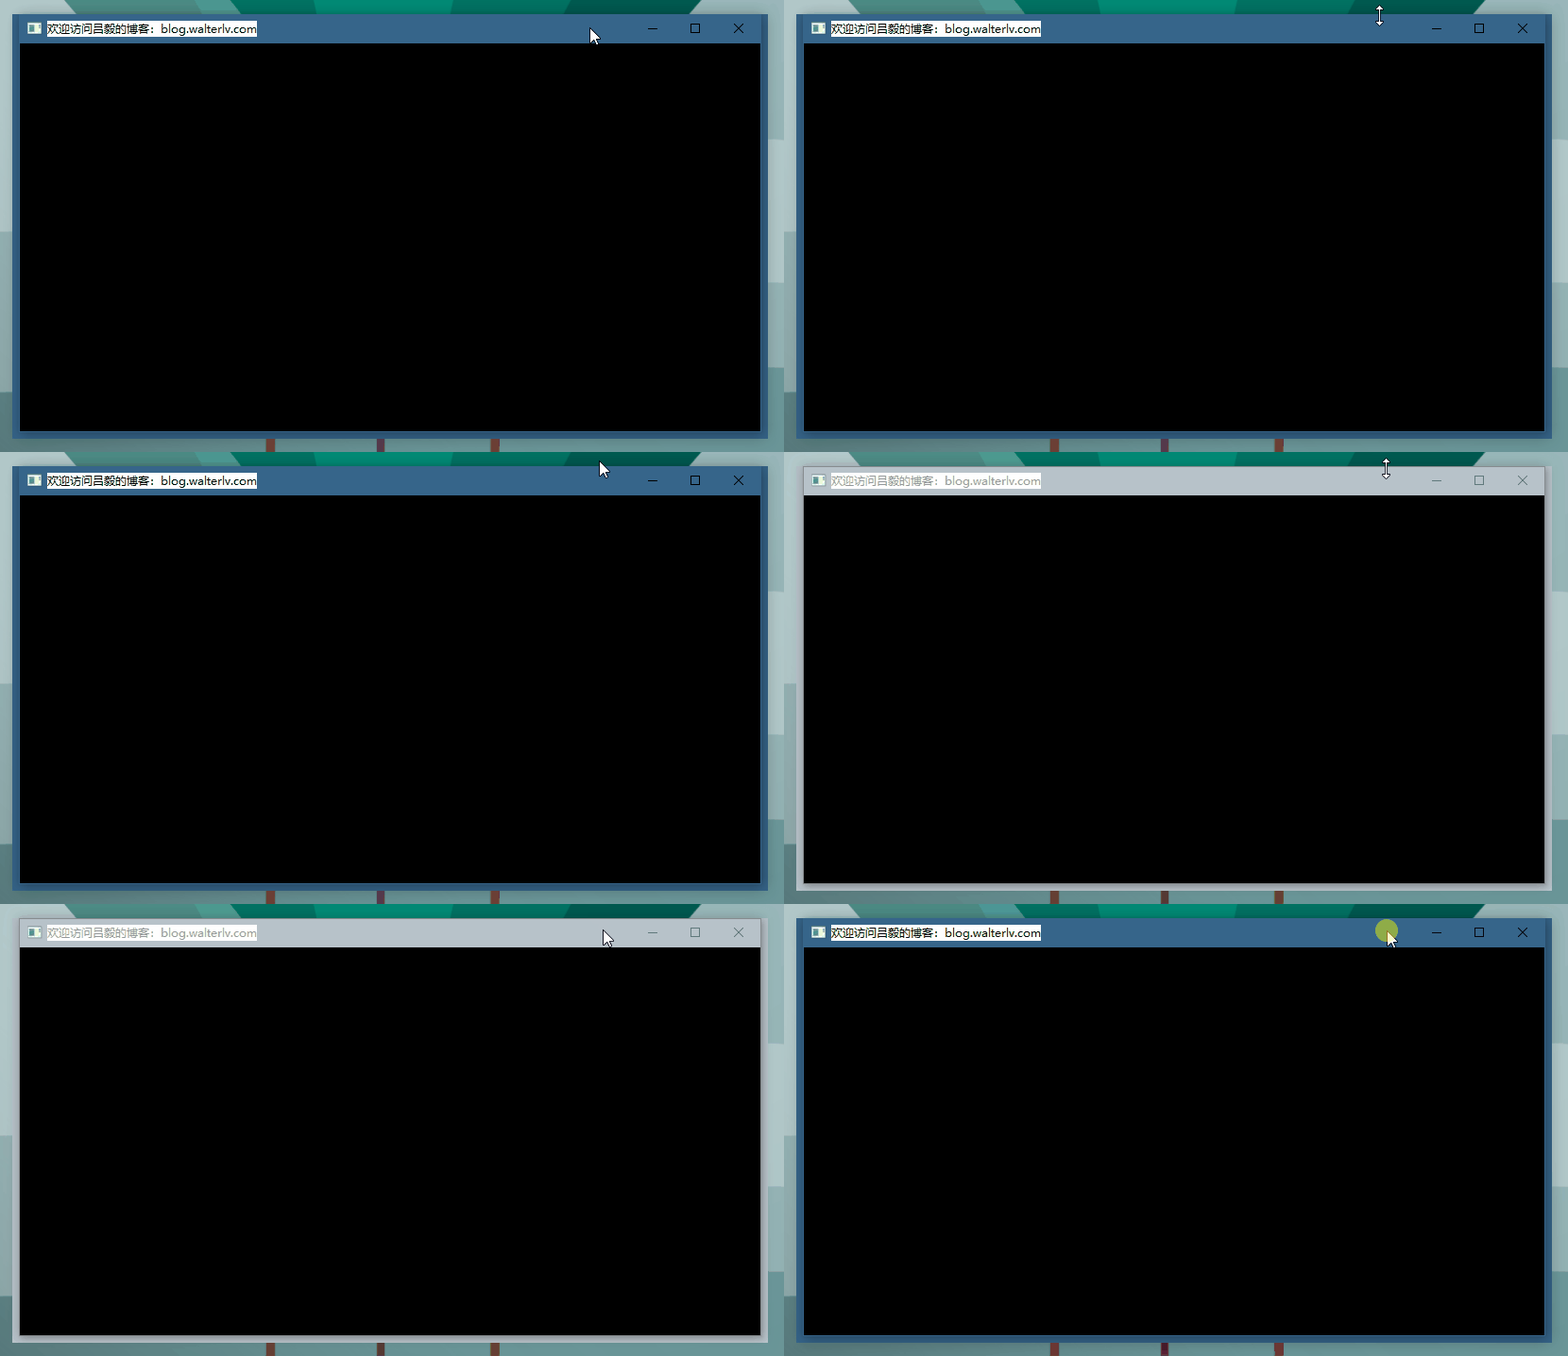
依然左、下、右三个方向上边框会深一些,那是 Windows 10 的窗口阴影效果。
不使用 WindowChrome 在 Windows 7 上:

GradientColor 也是被无视的,而且效果跟之前一样。
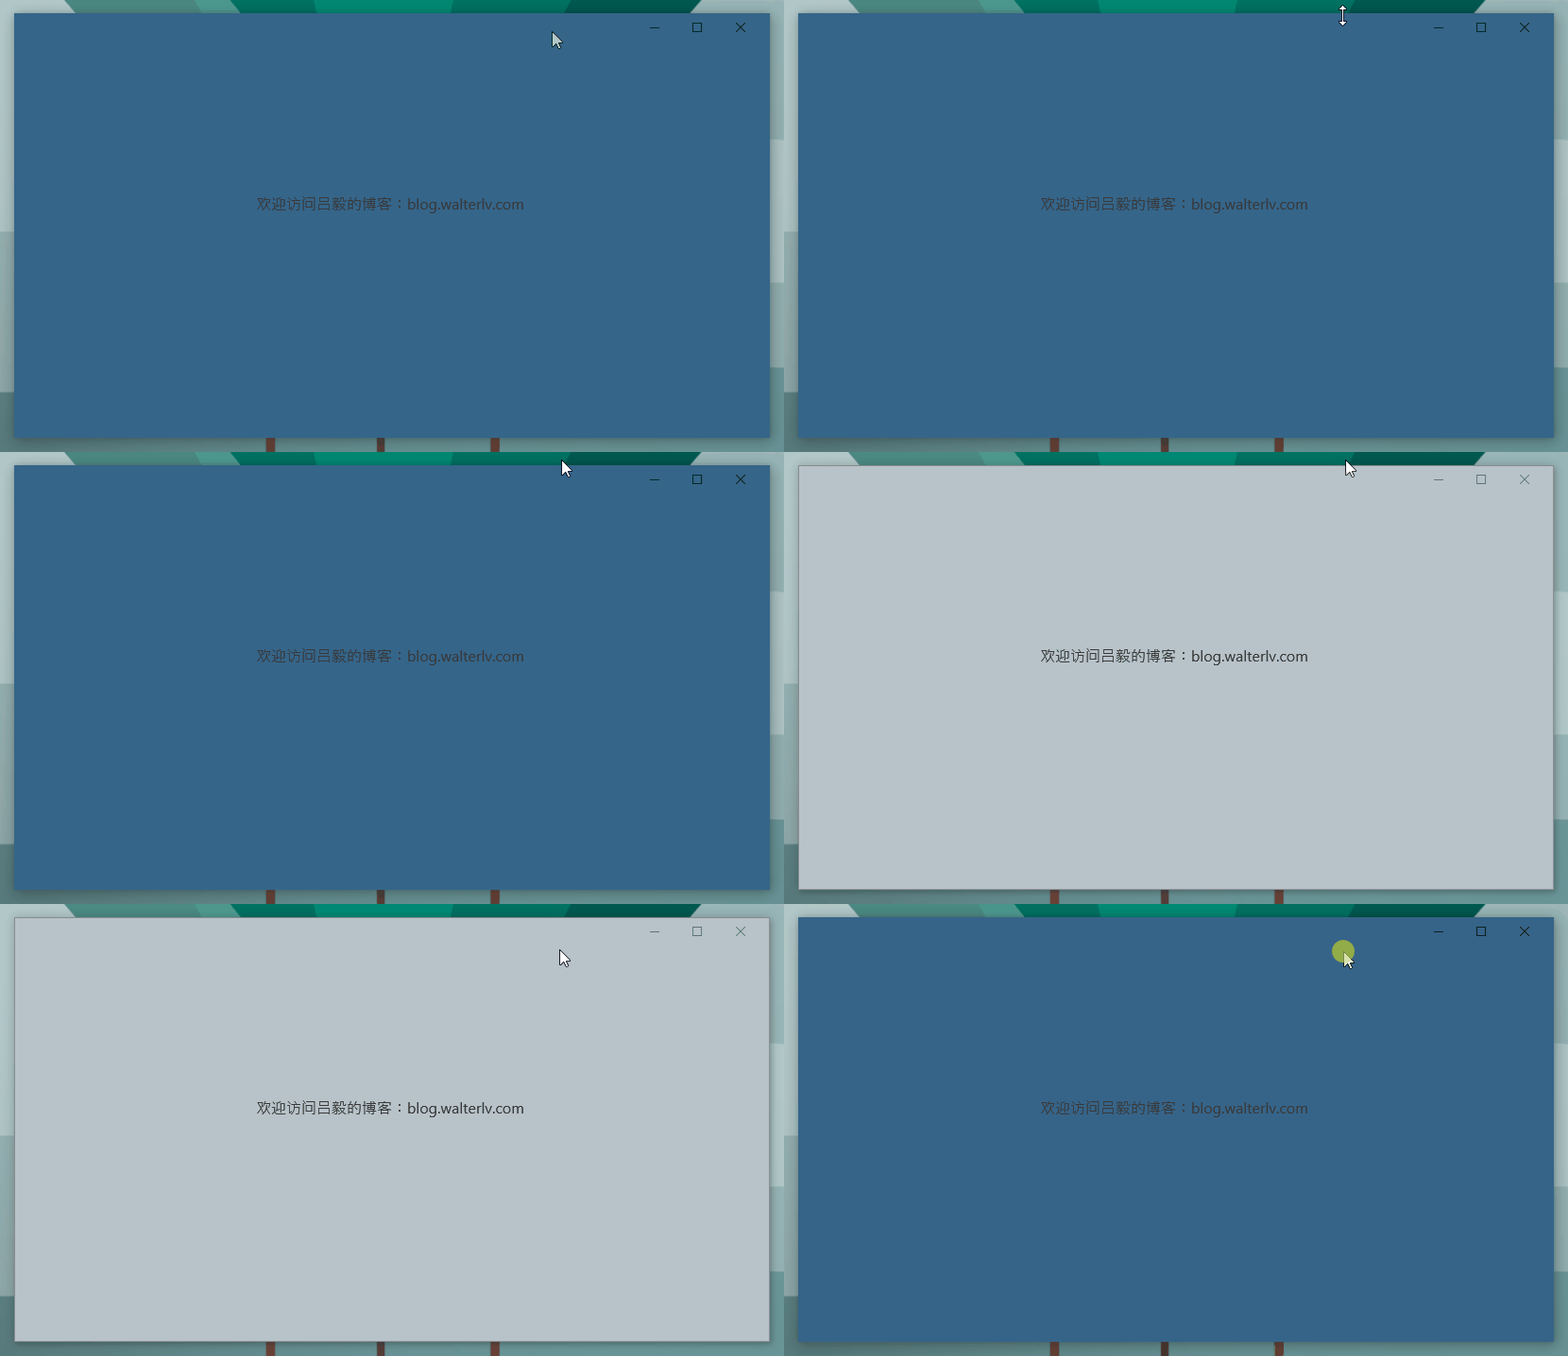
使用 WindowChrome 在 Windows 10 上,在获得焦点的时候整个背景是系统主题色;而失去焦点的时候是灰色,但边框部分是深色。
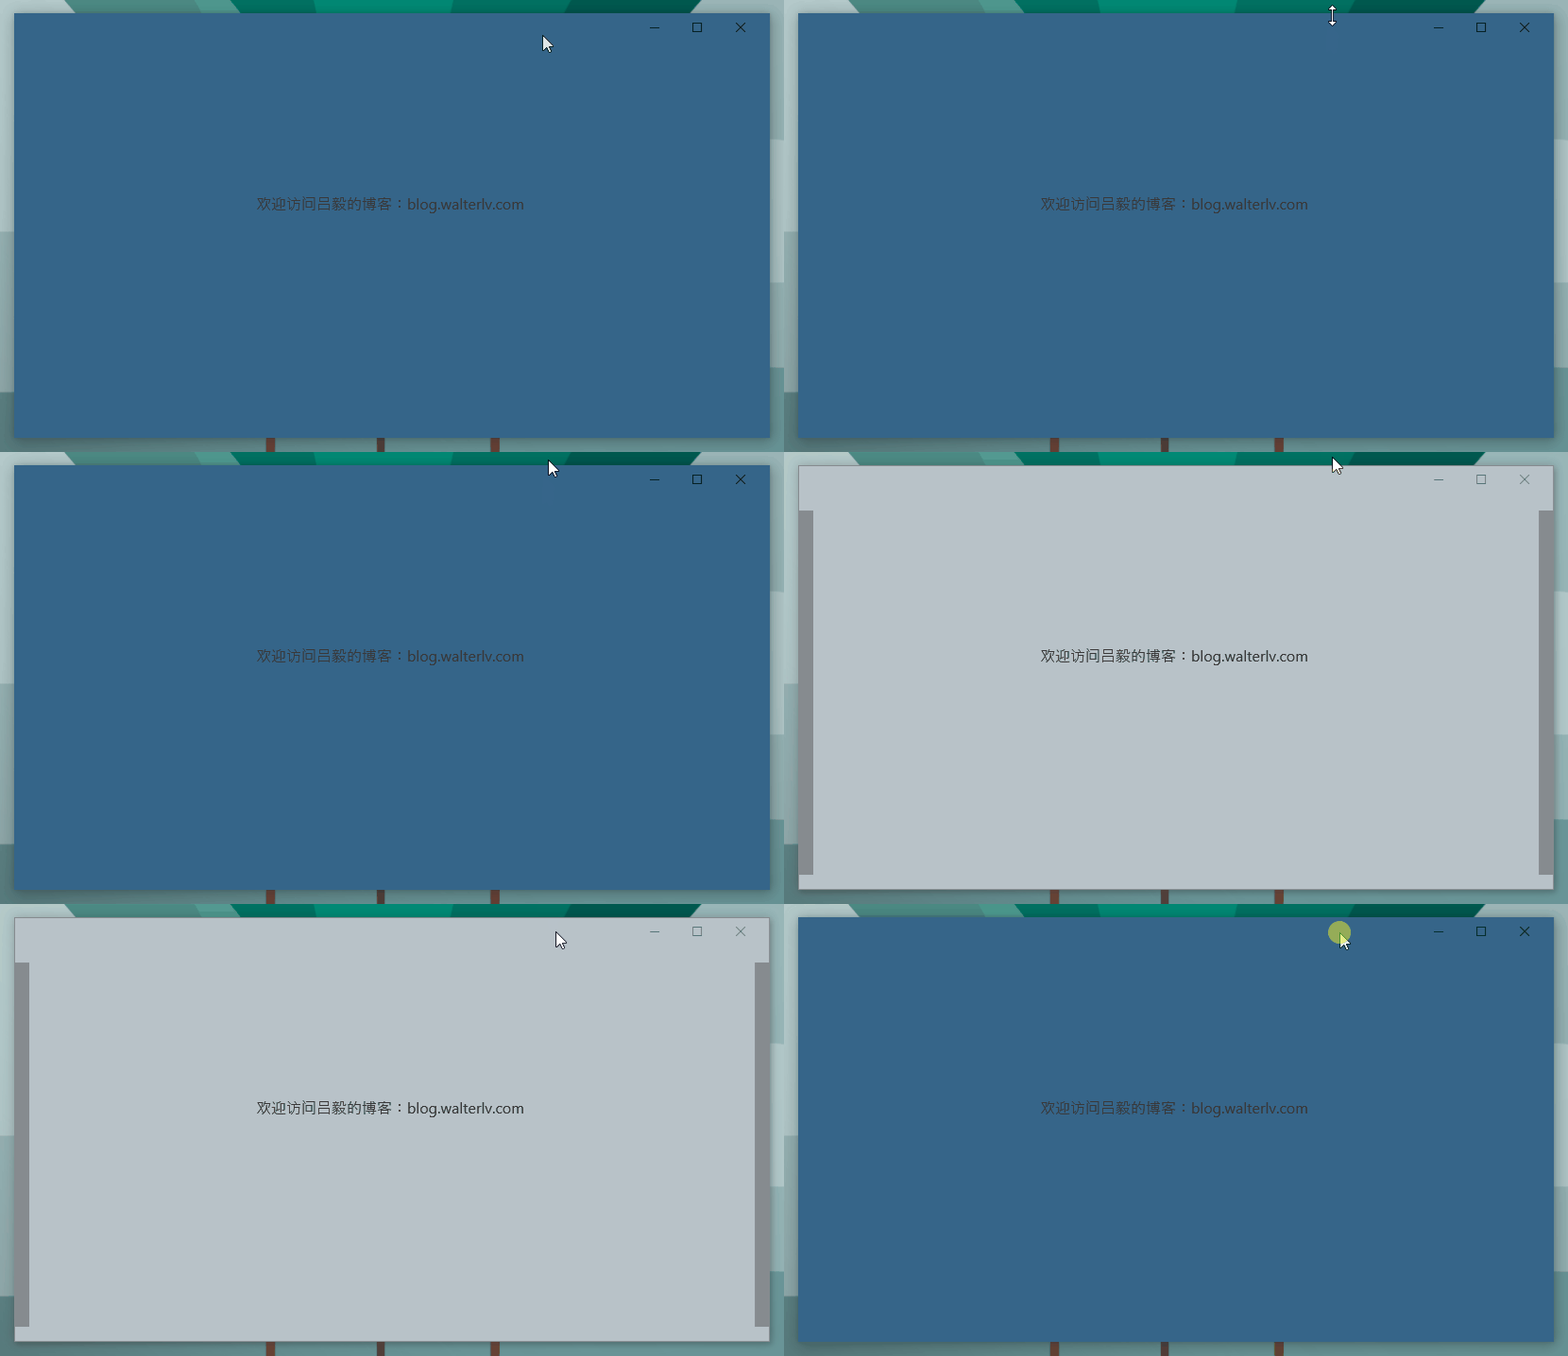
依然可以将边框设置为 -1 使得边框不会变深:
使用 WindowChrome 在 Windows 7 上,依然是老样子:

AccentState=ACCENT_ENABLE_BLURBEHIND
ACCENT_ENABLE_BLURBEHIND 可以在 Windows 10 上做出模糊效果,就跟 Windows 10 早期版本的模糊效果是一样的。你可以看我之前的一篇博客,那时亚克力效果还没出来:
使用 ACCENT_ENABLE_BLURBEHIND 时,GradientColor 叠加色没有任何影响,唯一影响渲染的是 WindowChrome 和操作系统。
在 Windows 10 上,没有使用 WindowChrome:
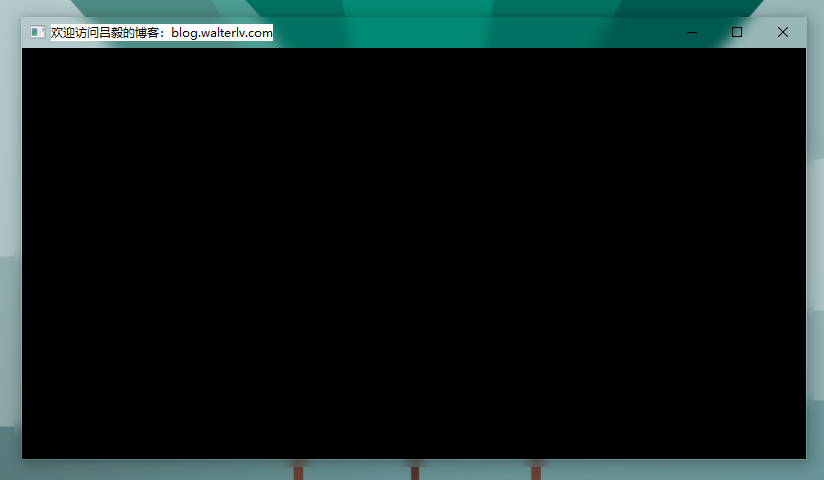
你可能需要留意一下那个“诡异”的模糊范围,你会发现窗口的阴影外侧也是有模糊的!!!你能忍吗?肯定不能忍,所以还是乖乖使用 WindowChrome 吧!
在 Windows 7 上,没有使用 WindowChrome,效果跟其他值一样,依然没有变化:

在 Windows 10 上,使用 WindowChrome:
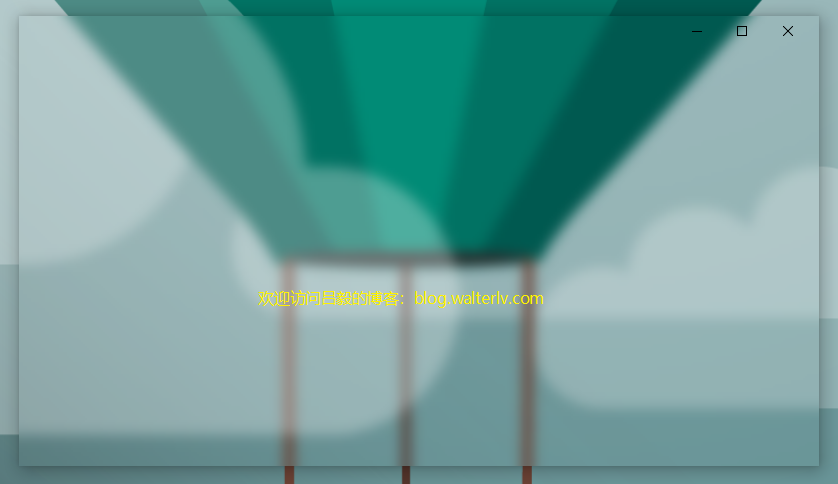
使用 WindowChrome 在 Windows 7 上,依然是老样子:

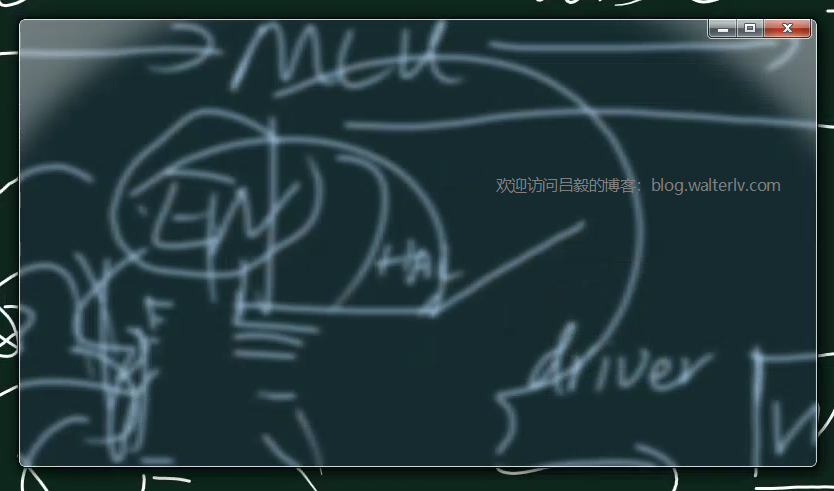
AccentState=ACCENT_ENABLE_ACRYLICBLURBEHIND
从 Windows 10 (1803) 开始,Win32 程序也能添加亚克力效果了,因为 SetWindowCompositionAttribute 的参数枚举新增了 ACCENT_ENABLE_ACRYLICBLURBEHIND。
亚克力效果相信大家不陌生,那么在 Win32 应用程序里面使用的效果是什么呢?
不使用 WindowChrome,在 Windows 10 上:

咦!等等!这不是跟之前一样吗?
嗯,下面就是不同了,亚克力效果支持与半透明的 GradientColor 叠加,所以我们需要将传入的颜色修改为半透明:
1
2
3
    var compositor = new WindowAccentCompositor(this);
--  compositor.Composite(Color.FromRgb(0x18, 0xa0, 0x5e));
++  compositor.Composite(Color.FromArgb(0x3f, 0x18, 0xa0, 0x5e));
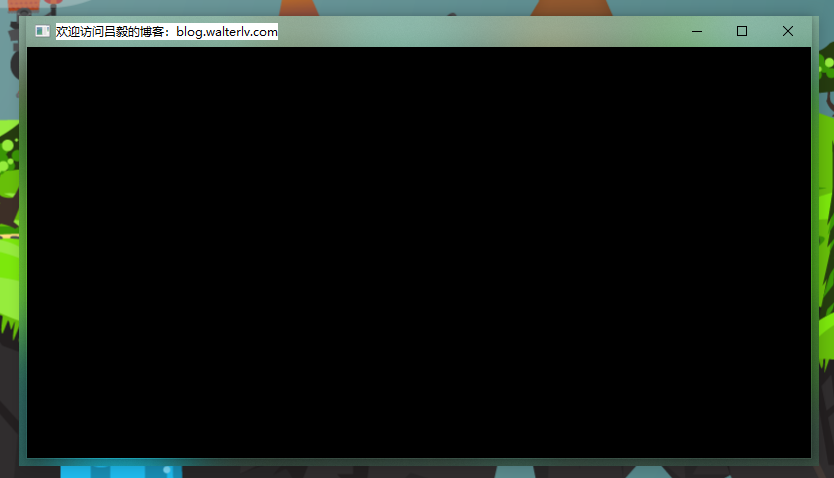
那么如果改为全透明会怎么样呢?
不幸的是,完全没有效果!!!
1
2
3
    var compositor = new WindowAccentCompositor(this);
--  compositor.Composite(Color.FromRgb(0x18, 0xa0, 0x5e));
++  compositor.Composite(Color.FromArgb(0x00, 0x18, 0xa0, 0x5e));
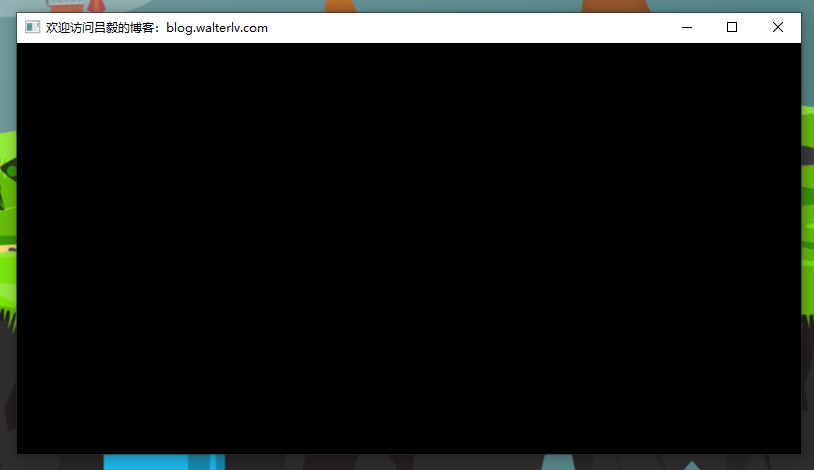
接下来是使用 WindowChrome 时:
1
2
3
<WindowChrome.WindowChrome>
    <WindowChrome GlassFrameThickness="16 48 16 16" />
</WindowChrome.WindowChrome>
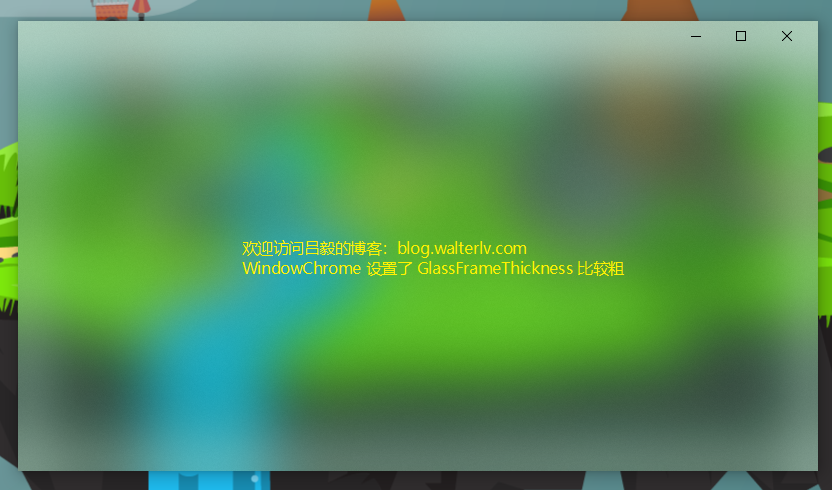
然而周围有一圈偏白色的渐变是什么呢?那个其实是 WindowChrome 设置的边框白,被亚克力效果模糊后得到的混合效果。
所以,如果要获得全窗口的亚克力效果,请将边框设置成比较小的值:
1
2
3
<WindowChrome.WindowChrome>
    <WindowChrome GlassFrameThickness="0 1 0 0" />
</WindowChrome.WindowChrome>
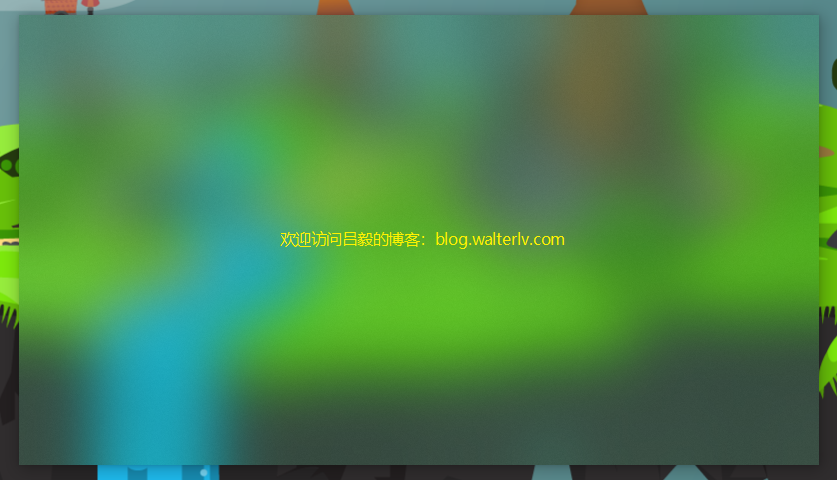
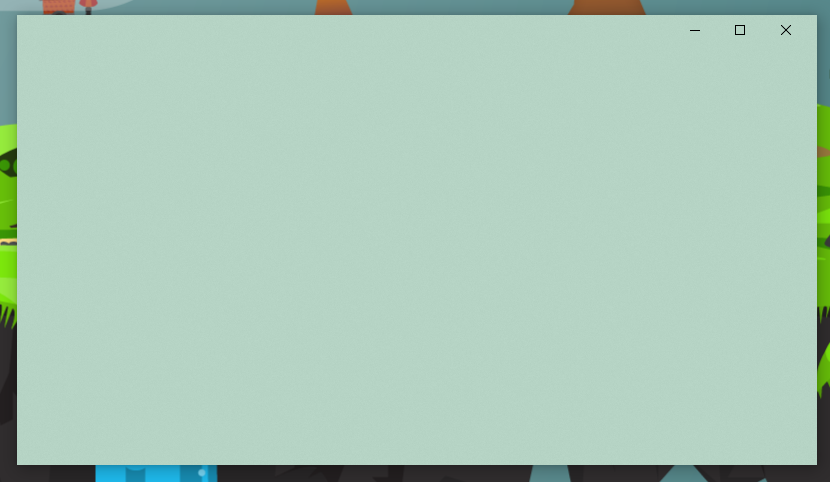
记得不要像前面的那些效果一样,如果设置成 -1,你将获得纯白色与设置的 Gradient 叠加色的亚克力特效,是个纯色:
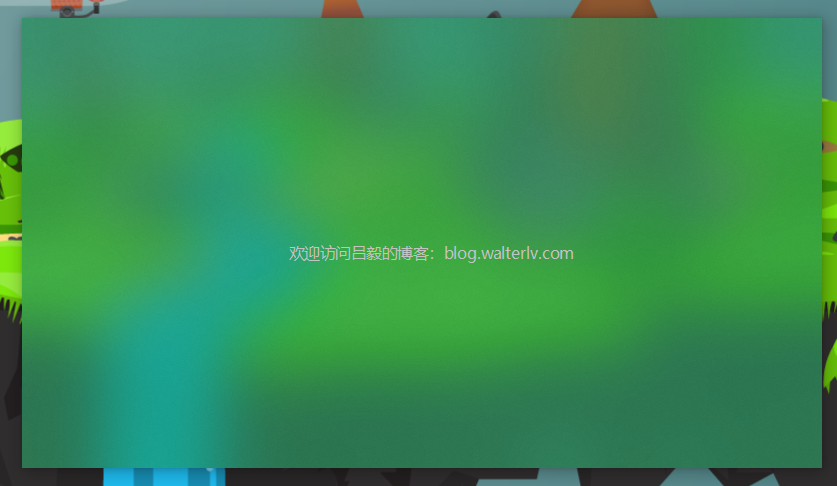
你可以将叠加色的透明度设置得小一些,这样可以看出叠加的颜色:
1
2
3
    var compositor = new WindowAccentCompositor(this);
--  compositor.Composite(Color.FromRgb(0x18, 0xa0, 0x5e));
++  compositor.Composite(Color.FromArgb(0xa0, 0x18, 0xa0, 0x5e));
那么可以设置为全透明吗?
1
2
3
    var compositor = new WindowAccentCompositor(this);
--  compositor.Composite(Color.FromRgb(0x18, 0xa0, 0x5e));
++  compositor.Composite(Color.FromArgb(0x00, 0x18, 0xa0, 0x5e));
很不幸,最终你会完全看不到亚克力效果,而变成了毫无特效的透明窗口:

最上面那根白线,是我面前面设置边框为 0 1 0 0 导致的。
如果在这种情况下,将边框设置为 0 会怎样呢?记得前面我们说过的吗,会导致阴影消失哦!
呃……你将看到……这个……
什么都没有……

是不是找到了一条新的背景透明异形窗口的方法?
还是省点心吧,亚克力效果在 Win32 应用上的性能还是比较堪忧的……
想要背景透明,请参见:
不用考虑 Windows 7,因为大家都知道不支持。实际效果会跟前面的一模一样。
AccentState=ACCENT_INVALID_STATE
这个值其实不用说了,因为 AccentState 在不同系统中可用的值不同,为了保证向后兼容性,对于新系统中设置的值,旧系统其实就视之为 ACCENT_INVALID_STATE。
那么如果系统认为设置的是 ACCENT_INVALID_STATE 会显示成什么样子呢?
答案是,与 ACCENT_DISABLED 完全相同。
总结
由于 Windows 7 上所有的值都是同样的效果,所以下表仅适用于 Windows 10。
| 效果 | |
|---|---|
| ACCENT_DISABLED | 黑色(边框为纯白色) |
| ACCENT_ENABLE_GRADIENT | GradientColor 颜色(失焦后边框为深色) |
| ACCENT_ENABLE_TRANSPARENTGRADIENT | 主题色(失焦后边框为深色) |
| ACCENT_ENABLE_BLURBEHIND | 模糊特效(失焦后边框为灰色) |
| ACCENT_ENABLE_ACRYLICBLURBEHIND | 与 GradientColor 叠加颜色的亚克力特效 |
| ACCENT_INVALID_STATE | 黑色(边框为纯白色) |
在以上的特效之下,WindowChrome 可以让客户区覆盖非客户区,或者让整个窗口都获得特效,而不只是标题栏。
附源代码
请参见 GitHub 地址以获得最新代码。如果不方便访问,那么就看下面的吧。
1
2
3
4
5
6
7
8
9
10
11
12
13
14
15
16
17
18
19
20
21
22
23
24
25
26
27
28
29
30
31
32
33
34
35
36
37
38
39
40
41
42
43
44
45
46
47
48
49
50
51
52
53
54
55
56
57
58
59
60
61
62
63
64
65
66
67
68
69
70
71
72
73
74
75
76
77
78
79
80
81
82
83
84
85
86
87
88
89
90
91
92
93
94
95
96
97
98
99
100
101
102
103
104
105
106
107
108
109
110
using System;
using System.Runtime.InteropServices;
using System.Windows;
using System.Windows.Interop;
using System.Windows.Media;

namespace Walterlv.Windows.Effects
{
    /// <summary>
    /// 为窗口提供模糊特效。
    /// </summary>
    public class WindowAccentCompositor
    {
        private readonly Window _window;

        /// <summary>
        /// 创建 <see cref="WindowAccentCompositor"/> 的一个新实例。
        /// </summary>
        /// <param name="window">要创建模糊特效的窗口实例。</param>
        public WindowAccentCompositor(Window window) => _window = window ?? throw new ArgumentNullException(nameof(window));

        public void Composite(Color color)
        {
            Window window = _window;
            var handle = new WindowInteropHelper(window).EnsureHandle();

            var gradientColor =
                // 组装红色分量。
                color.R << 0 |
                // 组装绿色分量。
                color.G << 8 |
                // 组装蓝色分量。
                color.B << 16 |
                // 组装透明分量。
                color.A << 24;

            Composite(handle, gradientColor);
        }

        private void Composite(IntPtr handle, int color)
        {
            // 创建 AccentPolicy 对象。
            var accent = new AccentPolicy
            {
                AccentState = AccentState.ACCENT_ENABLE_ACRYLICBLURBEHIND,
                GradientColor = 0,
            };

            // 将托管结构转换为非托管对象。
            var accentPolicySize = Marshal.SizeOf(accent);
            var accentPtr = Marshal.AllocHGlobal(accentPolicySize);
            Marshal.StructureToPtr(accent, accentPtr, false);

            // 设置窗口组合特性。
            try
            {
                // 设置模糊特效。
                var data = new WindowCompositionAttributeData
                {
                    Attribute = WindowCompositionAttribute.WCA_ACCENT_POLICY,
                    SizeOfData = accentPolicySize,
                    Data = accentPtr,
                };
                SetWindowCompositionAttribute(handle, ref data);
            }
            finally
            {
                // 释放非托管对象。
                Marshal.FreeHGlobal(accentPtr);
            }
        }

        [DllImport("user32.dll")]
        private static extern int SetWindowCompositionAttribute(IntPtr hwnd, ref WindowCompositionAttributeData data);

        private enum AccentState
        {
            ACCENT_DISABLED = 0,
            ACCENT_ENABLE_GRADIENT = 1,
            ACCENT_ENABLE_TRANSPARENTGRADIENT = 2,
            ACCENT_ENABLE_BLURBEHIND = 3,
            ACCENT_ENABLE_ACRYLICBLURBEHIND = 4,
            ACCENT_INVALID_STATE = 5,
        }

        [StructLayout(LayoutKind.Sequential)]
        private struct AccentPolicy
        {
            public AccentState AccentState;
            public int AccentFlags;
            public int GradientColor;
            public int AnimationId;
        }

        [StructLayout(LayoutKind.Sequential)]
        private struct WindowCompositionAttributeData
        {
            public WindowCompositionAttribute Attribute;
            public IntPtr Data;
            public int SizeOfData;
        }

        private enum WindowCompositionAttribute
        {
            // 省略其他未使用的字段
            WCA_ACCENT_POLICY = 19,
            // 省略其他未使用的字段
        }
    }
}
本文会经常更新,请阅读原文: https://blog.walterlv.com/post/set-window-composition-attribute.html ,以避免陈旧错误知识的误导,同时有更好的阅读体验。
本作品采用 知识共享署名-非商业性使用-相同方式共享 4.0 国际许可协议 进行许可。欢迎转载、使用、重新发布,但务必保留文章署名 吕毅 (包含链接: https://blog.walterlv.com ),不得用于商业目的,基于本文修改后的作品务必以相同的许可发布。如有任何疑问,请 与我联系 ([email protected]) 。

